On this page:
What is a dehydrated starter?
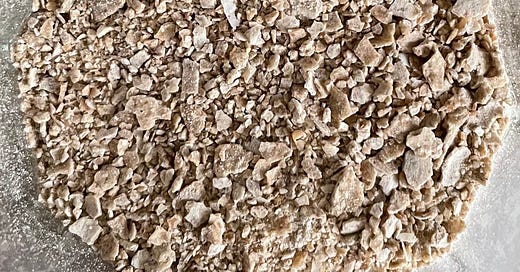
Essentially, it's a fresh sourdough starter that has been dehydrated and ground into a powder. It can live in your pantry indefinitely or until you are ready to start baking.
My dehydrated starter is made exactly the same way as my fresh starter. The only difference is, I dehydrated it at it’s peak to share with bakers across Australia who cannot pick up a fresh starter from me in Melbourne. I also keep some in my panty as a back up for my fresh starter.
Why choose a dehydrated starter?
One of the benefits of dehydrated starters is it can be stored in the pantry indefinitely. It also makes it easier to transport and send through the post.
Read before you buy rye flour to rehydrate your starter
My starter is fed with Australian rye flour from Gram Sustainable with a protein content of 12.3 percent. The high protein flour ensures a strong and active starter. If you are new to baking, please buy a rye flour with 11-13 percent protein.
The protein content will be listed on the nutrition information panel on the back of packaging or on the website you are purchasing your flour from.
This will ensure your starter is active and strong enough for baking.
How to rehydrate a dehydrated starter
If you bought one of my dehydrated starters, turn the light on in your oven and follow these steps.
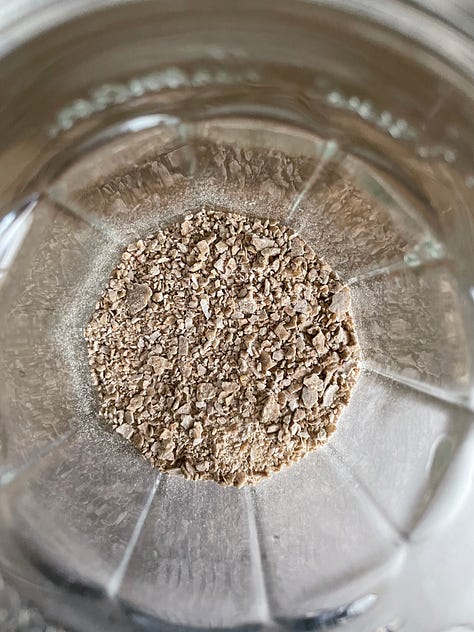
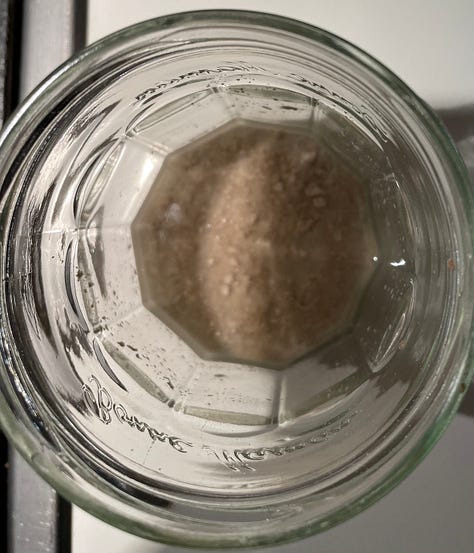
Empty the sachet into a clean jar and add 30 grams of lukewarm filtered, spring or distilled water.
Place the jar into the oven with the light on for 3 hours.
Note: If you don’t have an oven with a light, wrap the jar in a tea towel and leave on the bench for an extra 2 hours.
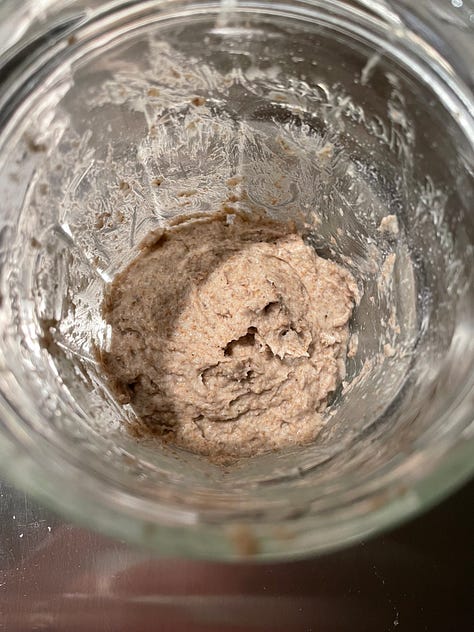
Remove the jar from the oven and add 15 grams of rye flour (11-13% protein). Stir well and leave on the bench for 24 hours. If it’s cold, wrap the jar in a tea towel to keep the starter warm. The mixture should look thick and stiff. After 24 hours, bubbles should start to appear (see image 1 below).


Image 1: Step 3 - starter after 24 hours Image 2: Steps 4-7 - starter at 15 hours after being fed. Kitchen temp 17 degress C. After 24 hours, scoop 20 grams of the mixture from the jar, place into a new jar and discard what’s left of the old jar.
Add 50 grams of rye flour and 75 grams of filtered, spring or distilled water to the jar and mix well.
Mark the jar with a sharpie or place an elastic band around the jar, where the mixture currently sits and leave on the bench (wrap in a tea towel if it’s cold) until it starts to grow and bubbles start to appear. This can take between 24-30 hours in cooler months and 4-6 hours in warmer months. See image 2 above of the starter after 15 hours on the bench at 17 degrees Celsius.
If your starter doesn’t look like image 2 above, don’t panic. Leave it on the bench for another few hours. In winter, it can take 24 -30 hours.
Note: As the starter grows, you’ll also notice it starts to smell like it’s fermenting. This is a good sign. It’s now ready to store in the fridge until you’re ready to bake.
Store in the fridge until you are ready to bake. Then follow the Preparing your starter for baking instructions.
Rehydrating tips
Temperature for rehydrating your starter
The optimal temperature to rehydrate your starter is 25 degrees Celsius - that’s roughly the temperature of your oven with the light on.
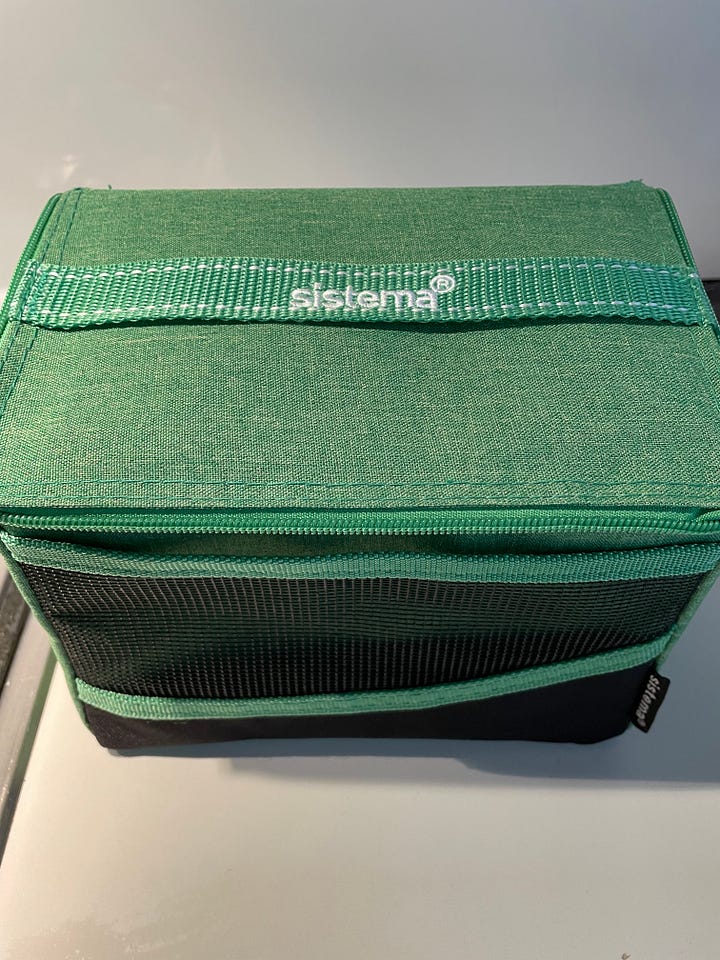
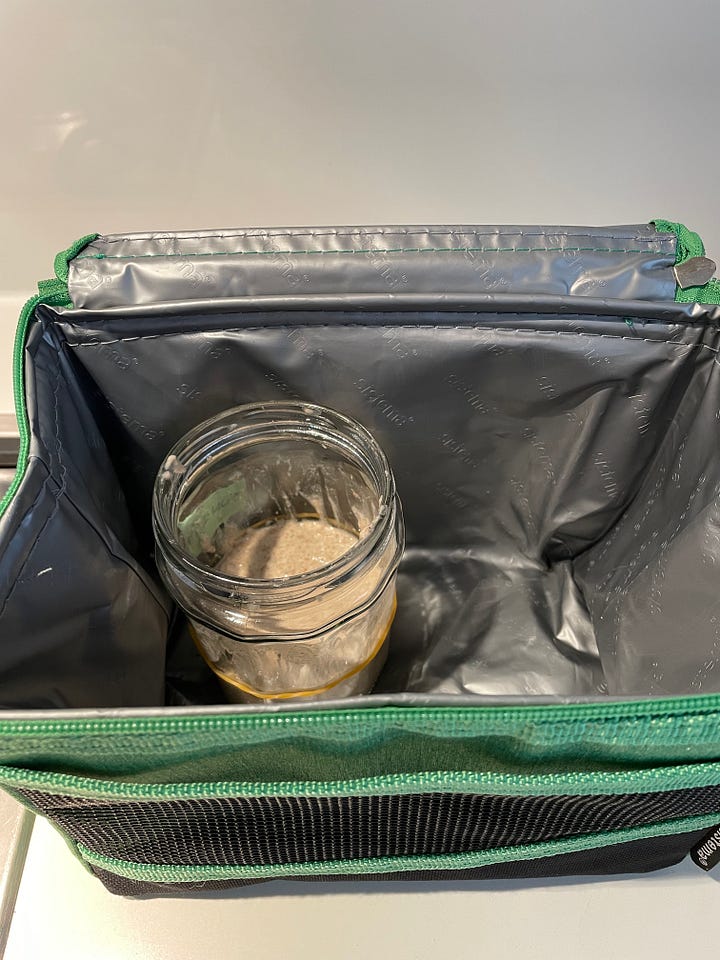
If your oven doesn’t have a light, move the jar to a warmer part of your home or wrap it in a tea towel to trap in some heat. I keep mine in an insulated lunch bag. I talk about this in more detail on the Preparing your starter for baking page.
Read next: Tools, flour, water, salt for baking.
If my work has helped you on your sourdough baking journey, and you can’t afford a paid subscription (I get it, it’s tough right now), please Buy me a coffee – only $5.00 AUD because I love coffee as much as I love sourdough!! Tx

