On this page:
You may be new to baking or have been baking for a while and wondering if there is an easier and quicker way to make a loaf of bread!
The good news is, there is a quicker way to make a simple loaf of sourdough.
I’ve called this recipe the ‘Lazy baker’ recipe because this loaf can be made and baked on the same day. It’s so easy and it’s my go-to no nonsense, no-knead recipe when I’m short on time.
It requires no levain like traditional loaves, only 2 fold and stretches and the best part, it mostly sits on the bench fermenting while you go about your day. Win!!
Bakers tip: Although the actual handling of the dough is minimal, you will need to plan you day around your bake. Ensure you can spend the day at home before you start, especially if you are new to baking. You need to learn how your dough behaves in your home. If you cannot spend the day at home while you’re learning, choose another day.
Let’s get started!
Makes 1 small loaf | Prep time - 1 hour | Cook time - 40 minutes | Total time in kitchen - 8-10.5 hrs - Difficulty - easy peasy
Tools
medium mixing bowl
bench scraper
proofing / banneton basket
fork or whisk
lame or double sided blade
heavy pot with lid (Dutch oven), pizza stone or baking tray
digital kitchen scales
parchment / baking paper or silicon mat
wooden spoon or spatula.
Ingredients
245 grams lukewarm filtered, distilled or spring water
12 grams sea salt
128 grams of rye starter
375 grams or high protein (12% or above) white bakers’ flour (or flour of your choice)
Rice flour for your bench and banneton.
Timings and method
Feed your starter
The night before (or morning of see note 1), feed your starter using Rock n Roll Sourdough feeding ratios:
20 grams of rye starter into a new jar
Add 50 grams of high protein (12+%) rye flour
75 grams of spring, distilled or filtered water and mix until smooth.
If you’re using a white flour starter, use 1:1:1 ratio.
Add an elastic band around the jar where the starter currently sits, leave on the bench and monitor its growth. It should at least double in size and reached its peak before use. See Preparing your starter for baking for more information.
Note 1: In winter, it may take anywhere from 10-12 hours (feed your starter the night before) and in warmer months, 3-6 hours for your starter to reach its peak. Adjust your feeding times according to the season.
9.00am - 11.00am (2 hours) - Combine ingredients into a shaggy mess
In a medium mixing bowl, add 245 grams of lukewarm filtered water and 12 grams of sea salt. Mix until the salt has dissolved.
Add 128 grams of starter (the entire jar if following my feeding ratios) and mix until it has broken down into small chunks.
Add 375 grams of white bakers flour with at least 12% protein. (You can substitute with a flour or your choice but ensure it has a high protein content).
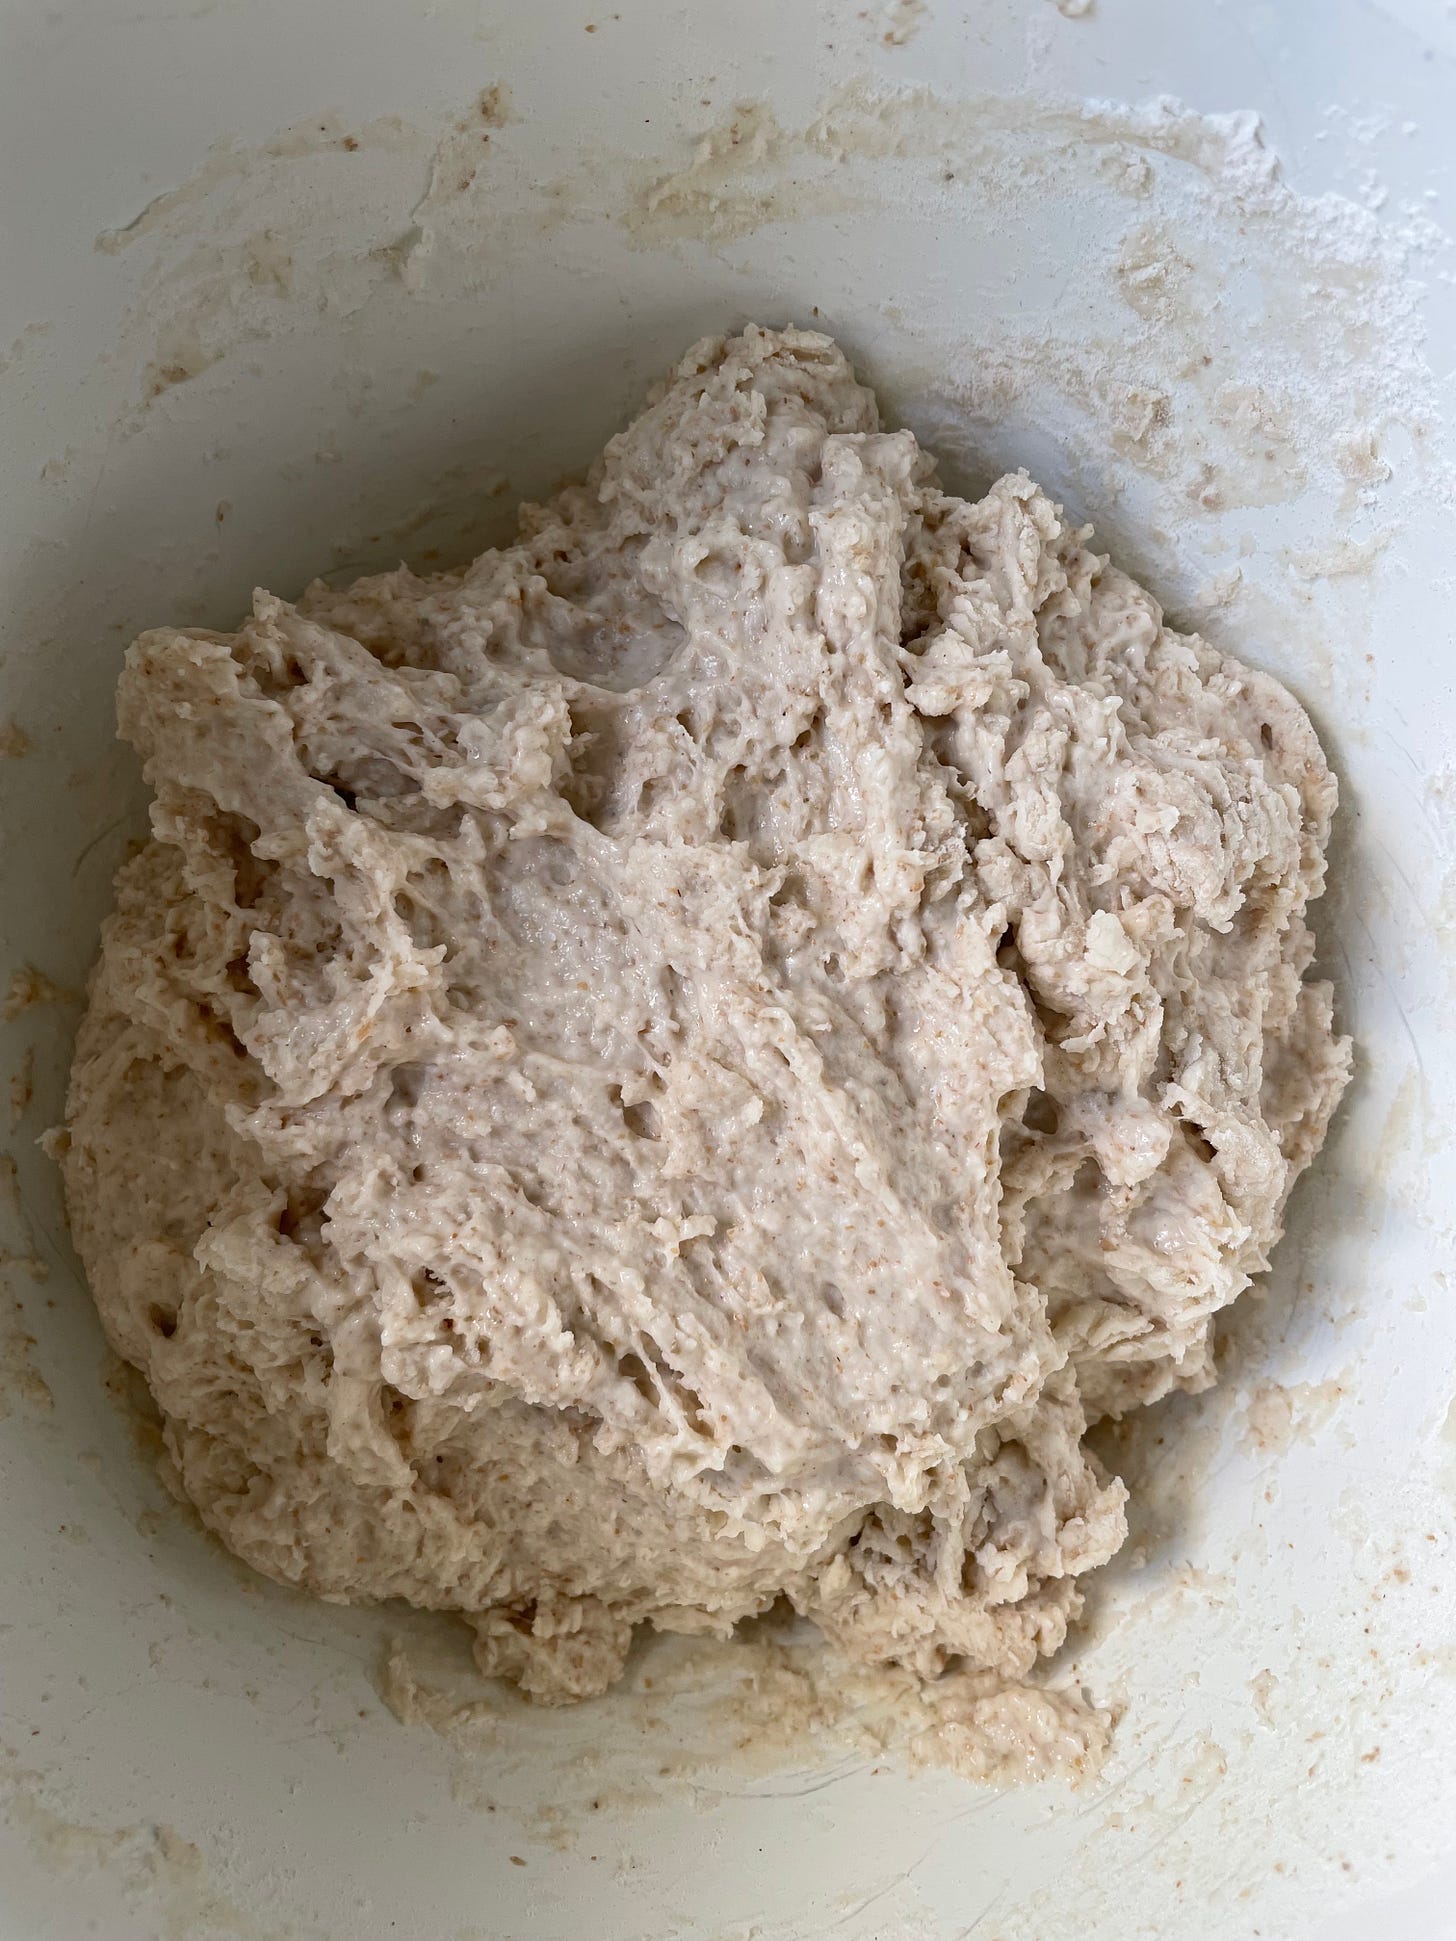
With your hands, bring all the ingredients together and mix into a shaggy mess.
Cover with a tea towel and leave on the bench for 2 hours.
Note 2: timings are based on my kitchens temperature of 16-22 degrees Celcuis (60 - 71 degrees Fahrenheit).
11.00am - 4.30pm (5.5 hours) - Pre-shape the dough for bulk rise
Remove the dough from the bowl and place onto a clean bench. Do not dust the bench with flour as you might with other recipes. You can wet your finger tips if needed.
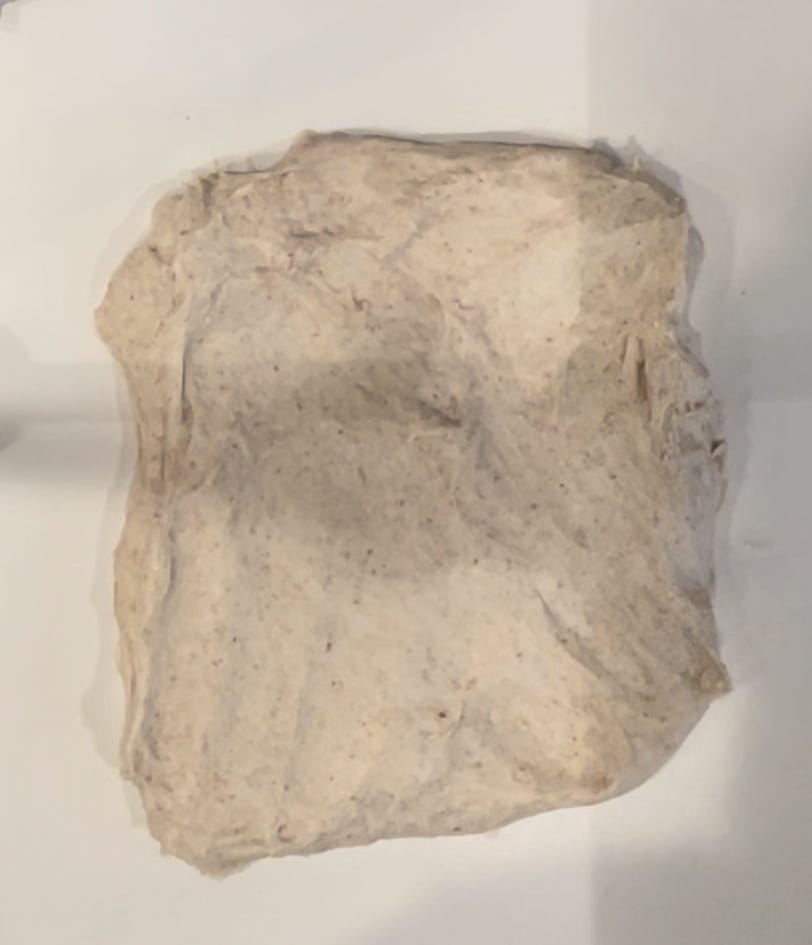
Gently stretch the dough into a small rectangle - about 2cm (1 inch) thick.
Take one end of the dough and gently lift, stretch and fold it to the center of the dough - do this from each of the four sides. Each stretch and fold, starts to builds the gluten network.

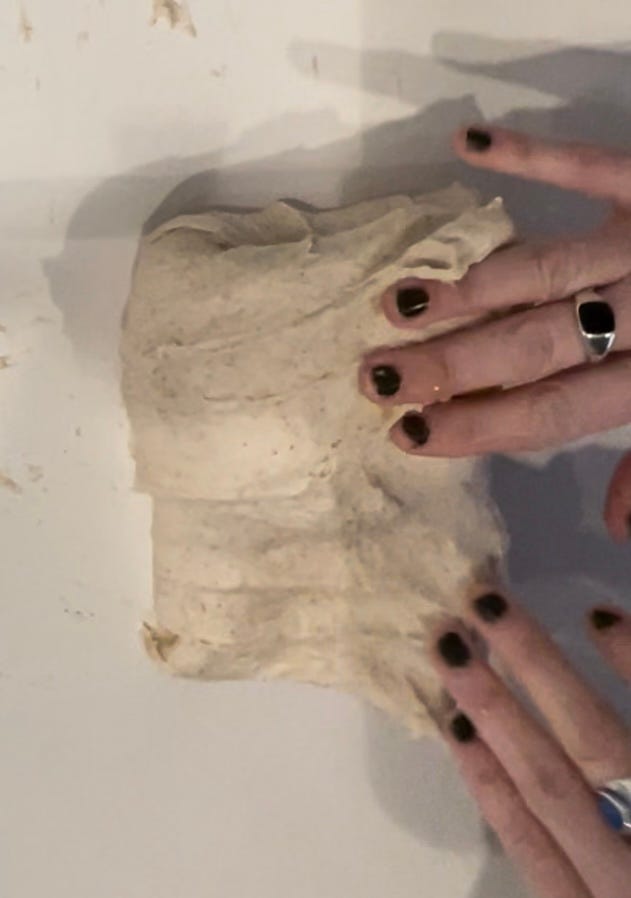
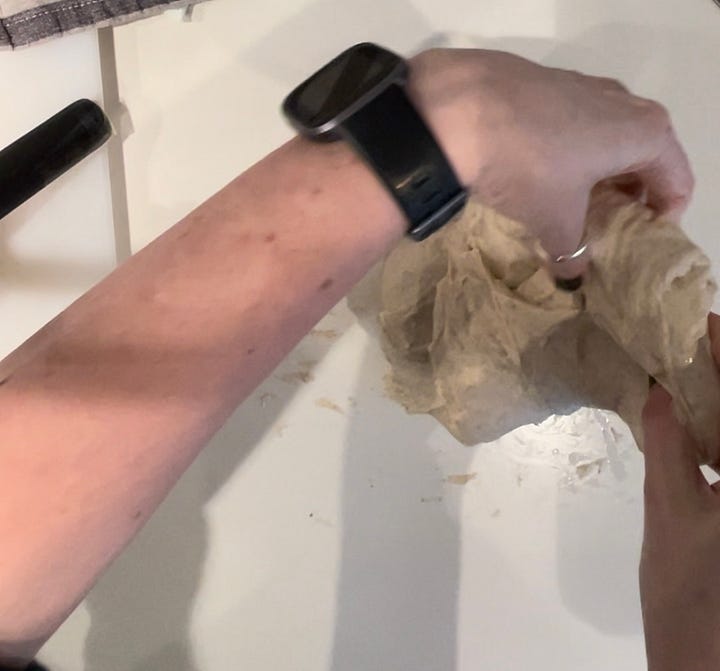
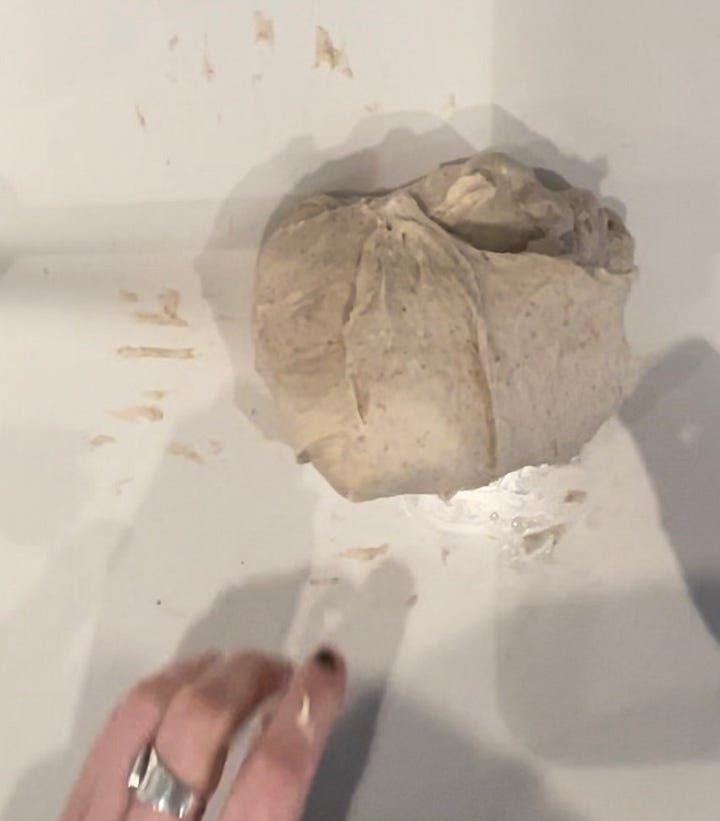
Stretch and fold the dough. Builds the gluten network. Turn the dough over so the flat side is on top and shape into a smooth tight ball. If you’re right handed, roll the dough in an anticlockwise movement and tuck the bottom under (at roughly 9.00 o’clock) with each turn.
The dough will stick to the bench as we shape. This stickiness helps build tension around the top of the dough trapping in the important gasses that create an open crumb (the holes in the baked dough).
Keep shaping until the dough feels smooth, tight and less sticky. You’ll see what I mean when you start.
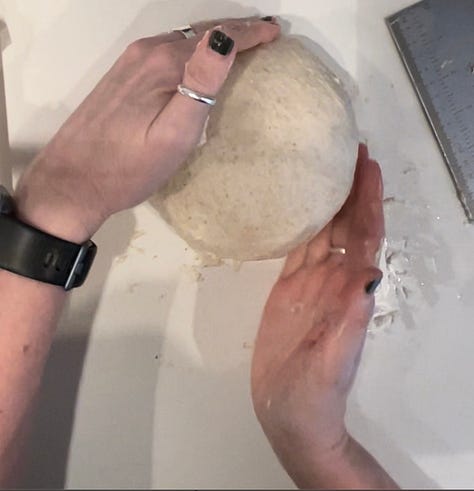
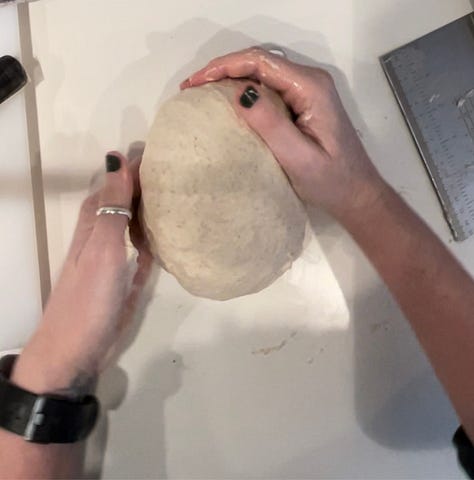
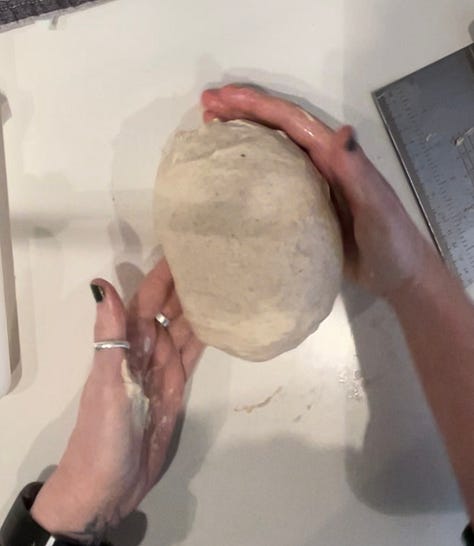
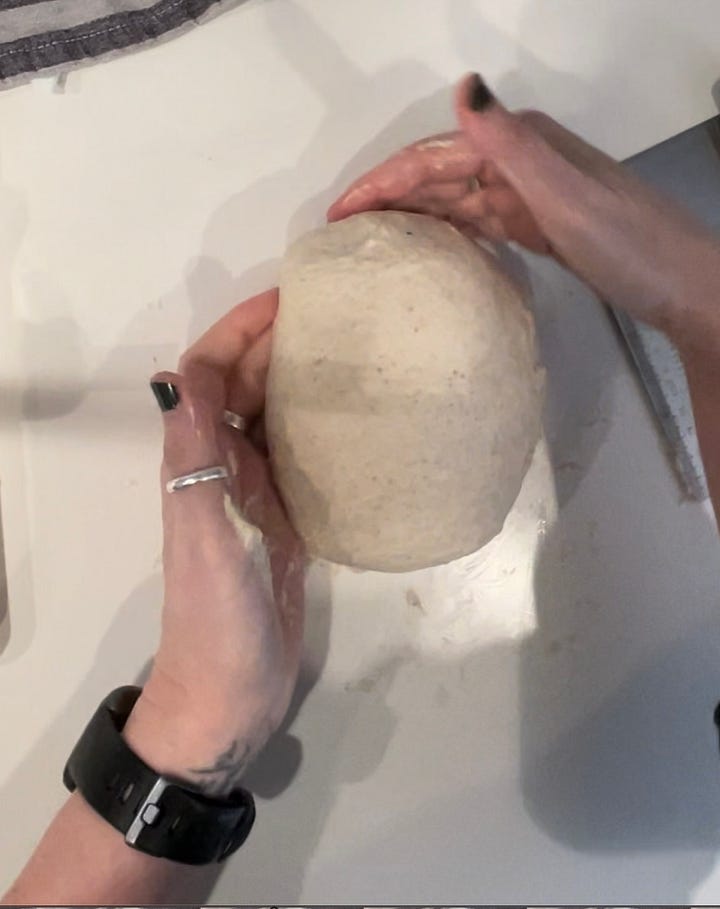
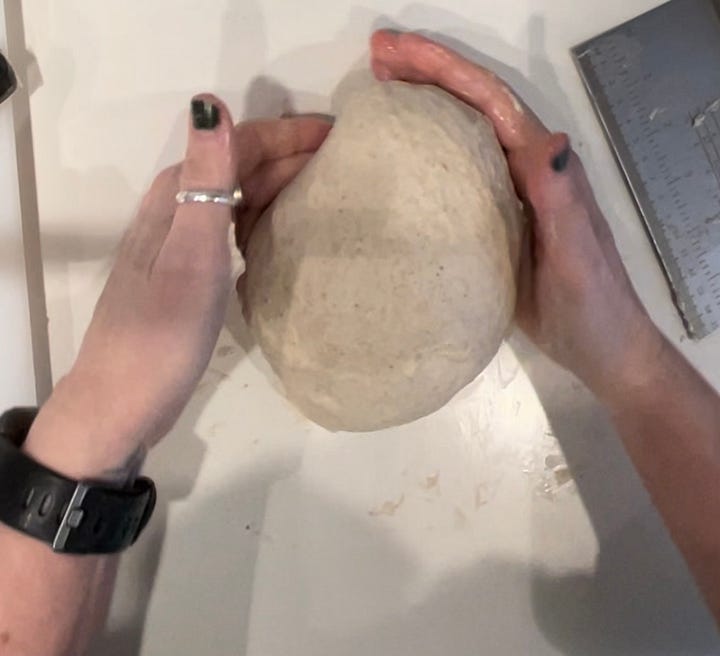
Shaping the dough for bulk rise Use a scraper to gently lift the dough off the bench.
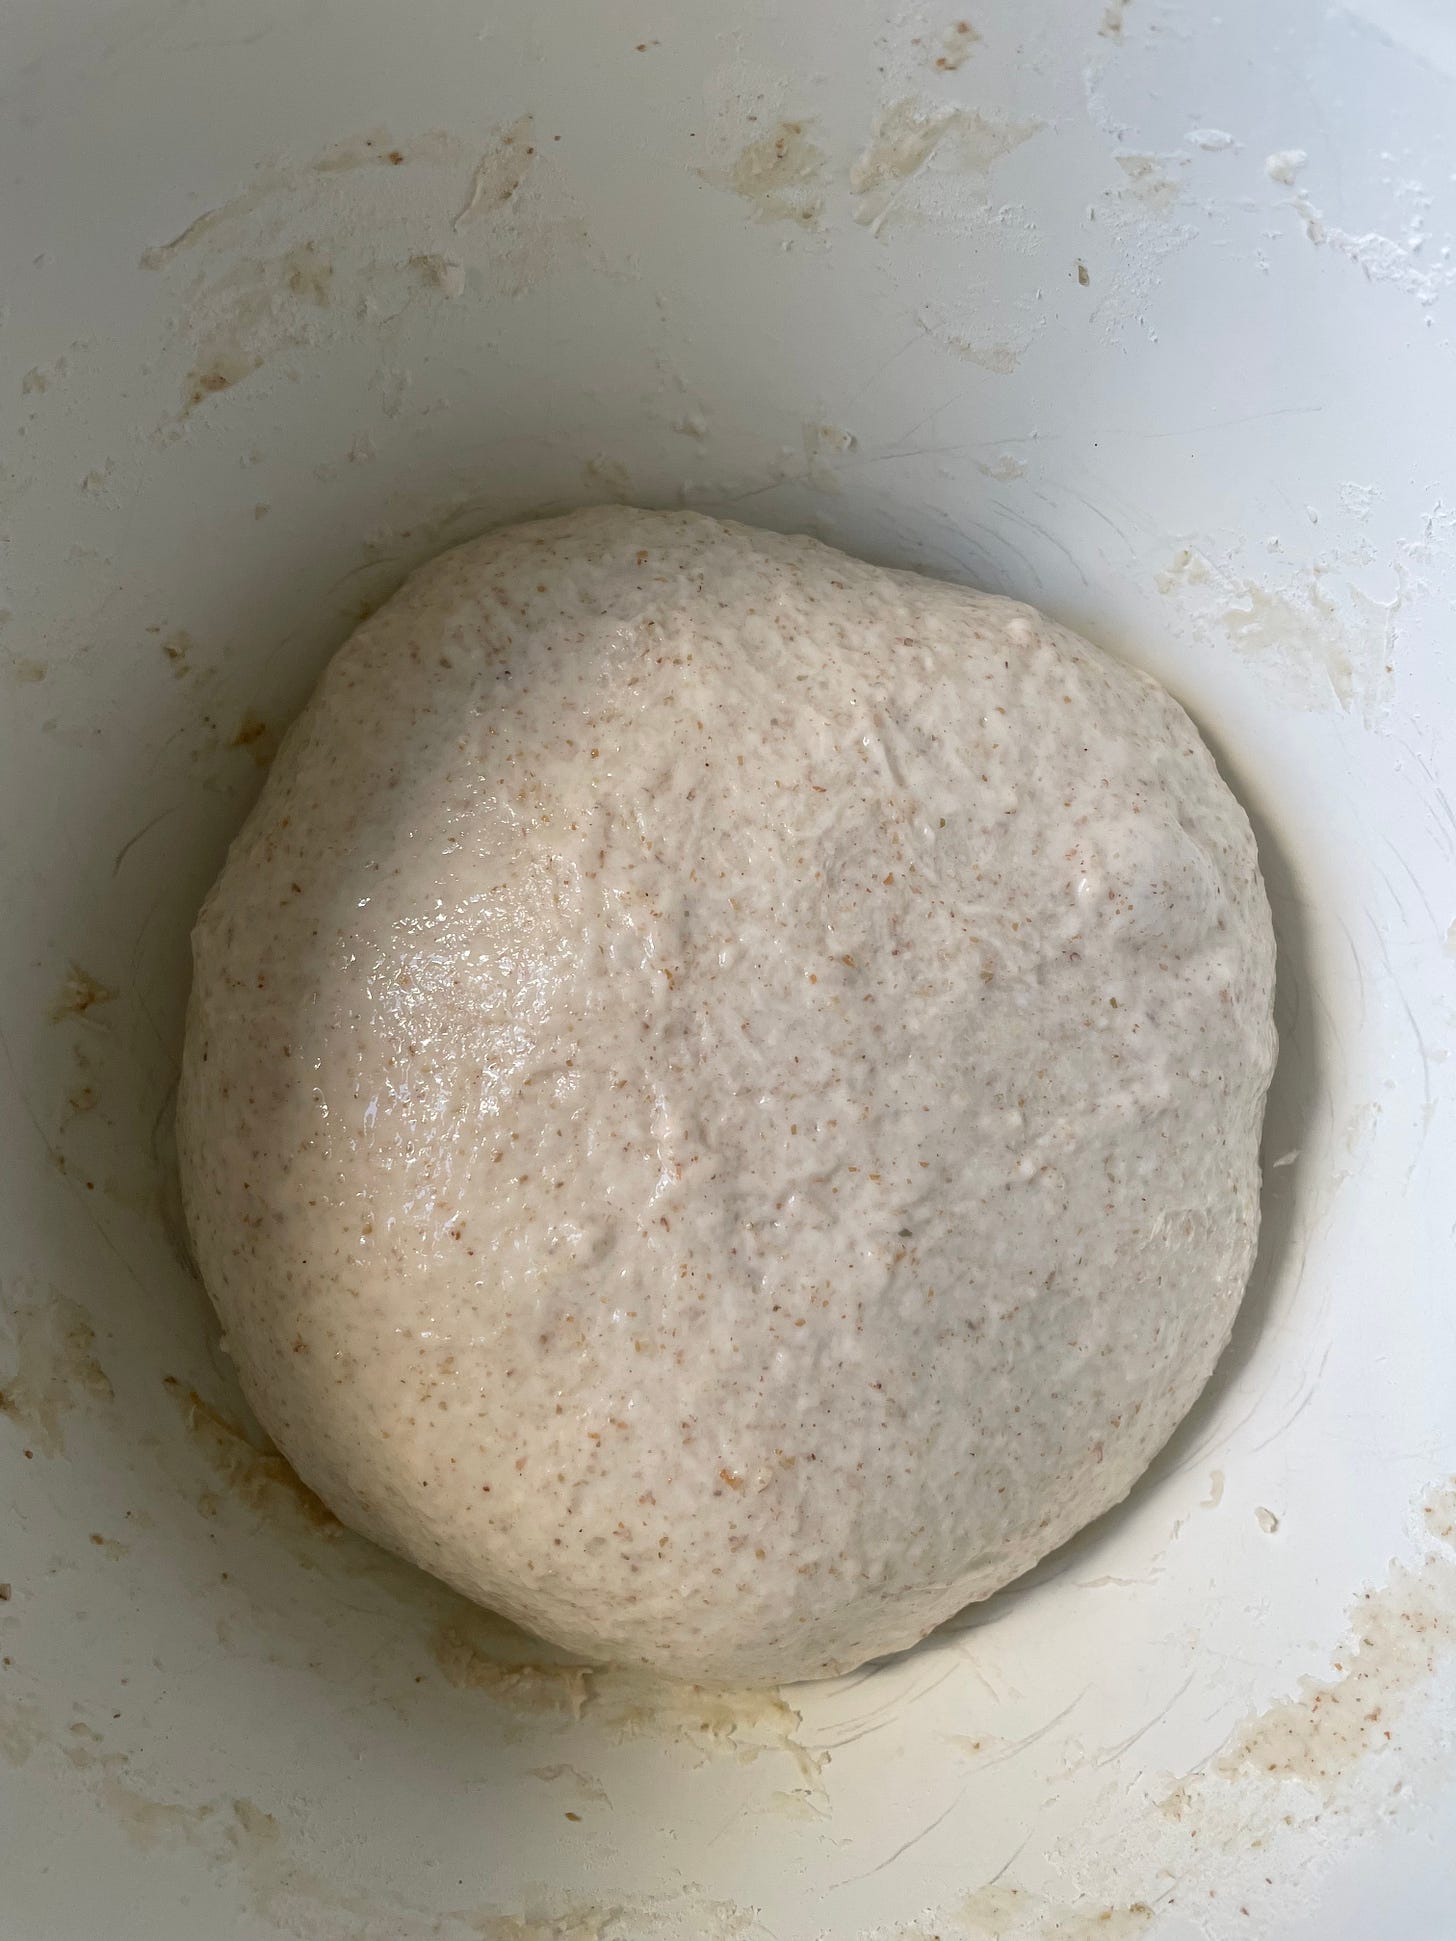
Place the dough back into the bowl, cover with a tea towel and leave on the bench to bulk rise for 5.5 hours.
Note 3: timings are based on my kitchens temperature 16-22 degrees Celsius. Keep an eye on the dough. It will tell you when it’s ready when it has grown in size and the top of the dough has a rounded or dome shape appearance.
4.30pm - 6.30pm (2 hours +15-20 minutes - press test) - Final shape and proof
Gently scrape the dough from the bowl onto a clean bench. Go slow as we need to retain the gas we’ve developed from the pre-shape.
Gently stretch the dough into a small rectangle - about 2cm or an inch thick (see the images in the previous step).
Take one end and lift and fold it to the center of the dough - do this from each of the four sides (see the images in the previous step).
Leave the dough on the bench and prepare your banneton with flour or rice flour (my preference). Use more flour than you think you’ll need. The flour prevents the dough from sticking to the basket. You can brush off the excess flour on your dough before baking. Ensure you push the flour between the gaps in the basket.
Final shape. Flip the dough over, shape into a boule (round ball - follow the shaping method above) or bâtard (oblong shape) - depending on the shape of your proofing basket.
Liberally dust the top of you dough with flour. Using a bench scraper, flip the dough over so the bottom is now facing the top and place into your banneton.
Dust the top of your dough with flour so it doesn’t stick to the banneton when it grows.
Cover with a tea towel and leave to proof on the bench for 2 hours 30-45 minutes.
Note 4: If it’s warmer in your kitchen (+19 degrees Celcius), check the dough at 2 hours 30 minutes. If it has risen and domed, use the ‘press test’ below to ensure it has proofed.
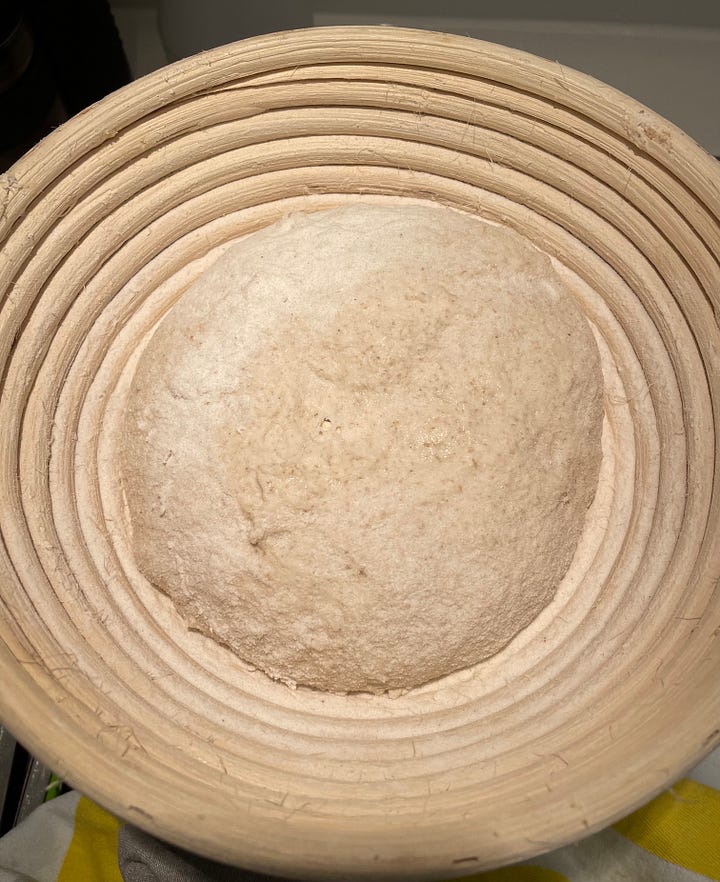
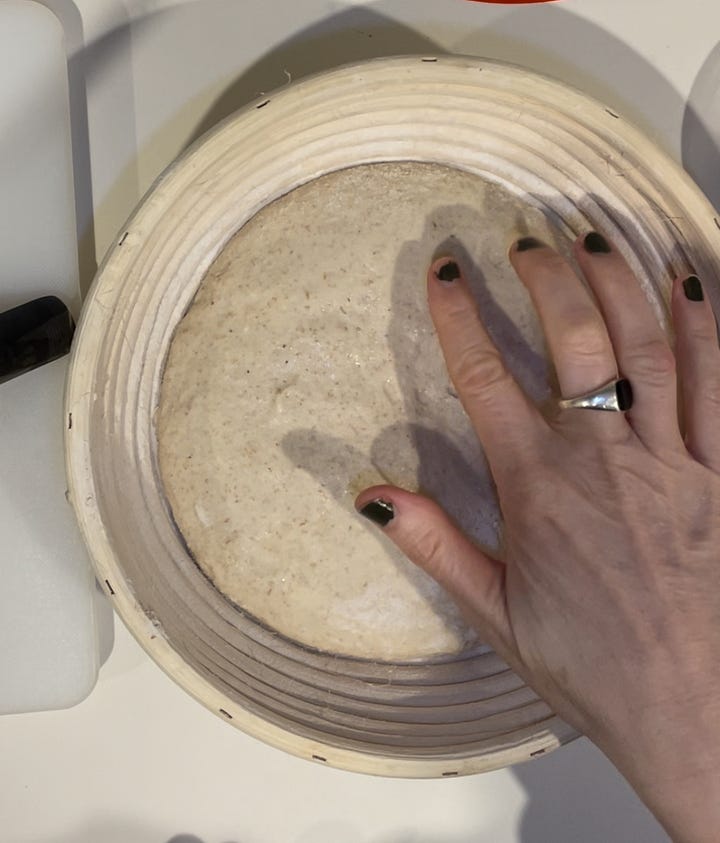
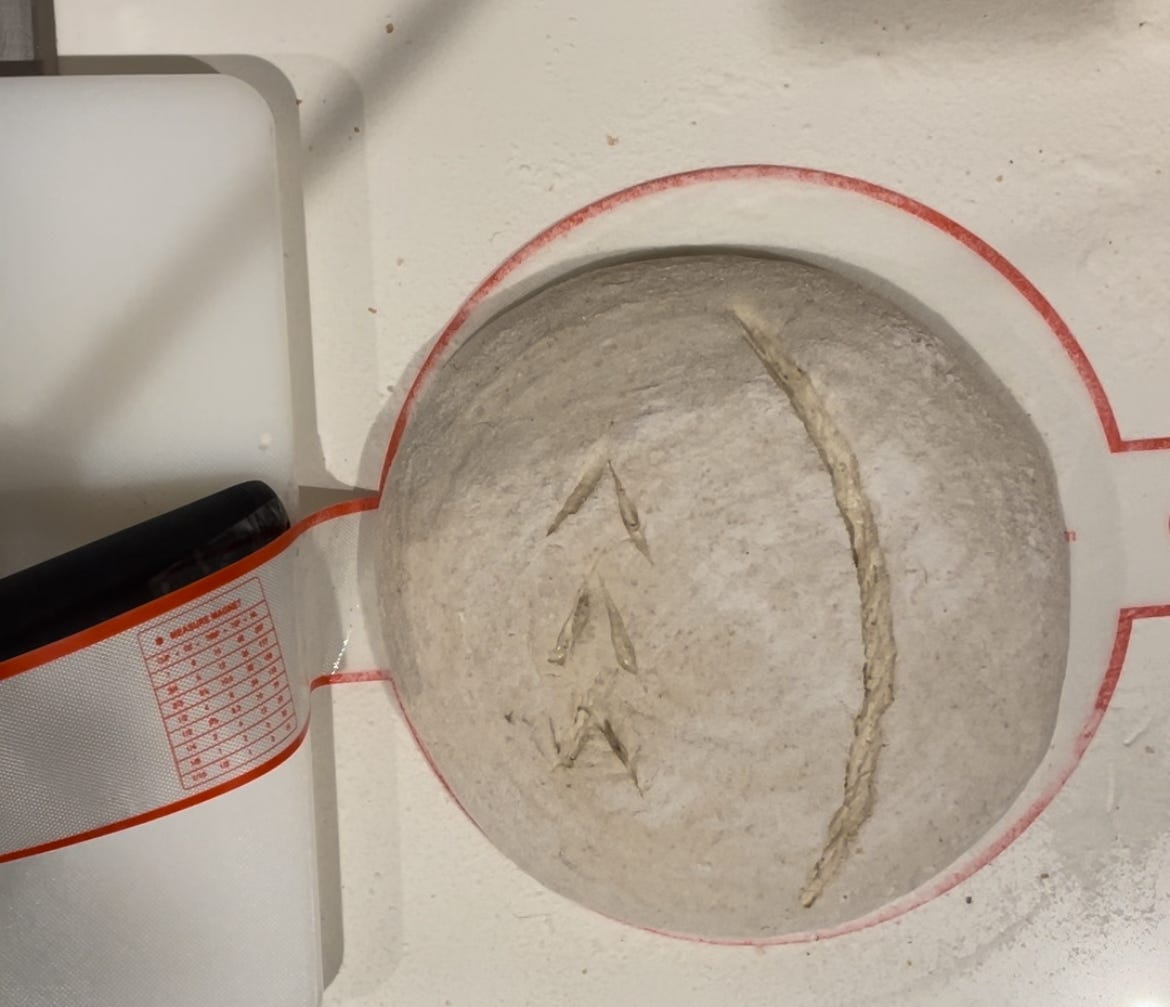
Image 1: Dough in proofing basket after final shape. Image 2: Dough after 2 hours 45 minutes. It has grown and domed and ready for the 'press test'. At 2 hours, check the dough for growth and doming (see image 2 above). If there is no growth or doming, check back again in 30 minutes.
To confirm if your dough has proofed, use the ‘press test’. Challenger Bakeware explains this perfectly (see video below). We are not looking for the dough to double in size like in other recipes. It will rise, but not double. I’ve always found the ‘press test’ is the best way to work out when the dough is ready for baking.
When the dough has proofed, it’s ready to bake!
Note 5: At this point, you can either bake your dough in the evening or store your proofed dough in a plastic bag in the fridge overnight and bake in the morning.
Note 6: Over time, you will learn to read your dough. It will always tell you when it’s ready for baking.
Let’s bake - 40 minutes
Preheat your oven to 250 degrees Celsius (480 Fahrenheit) and place your Dutch oven inside with the lid on to heat up (see note 7 if you don’t have a Dutch oven).
Tear off some baking paper - double the length of your banneton or use a silicon mat if you have one.
Place the baking paper over the top of the banneton and gently flip the basket over so the dough falls onto the paper and onto the bench. The dough should easily slide out.
Note 7: If you don’t have a Dutch oven, you can use a baking tray or a pizza stone. To achieve the steam a Dutch oven produces, as you add the baking tray or pizza stone to the oven, throw a handful of ice into the oven as you close the door or add a pan of water to the bottom of the oven for the first 20 minutes.
Score the dough with a bread lame or double-sided blade to your desired pattern. I do a simple curved cut from top to bottom.
Take the Dutch oven from the oven, remove the lid and carefully lower the dough inside.
Use a spray bottle filled with water and spray over the dough. If you don’t have a spray bottle, simply sprinkle some water over the top (to create steam) and replace the lid.
Bake for 20 minutes.
Reduce the oven temperature to 220 degrees Celsius (428 Fahrenheit).
Remove the lid from the Dutch oven and bake for a further 20 minutes. If you’re using a baking tray, leave in the oven and remove the pan of water (if you used one).
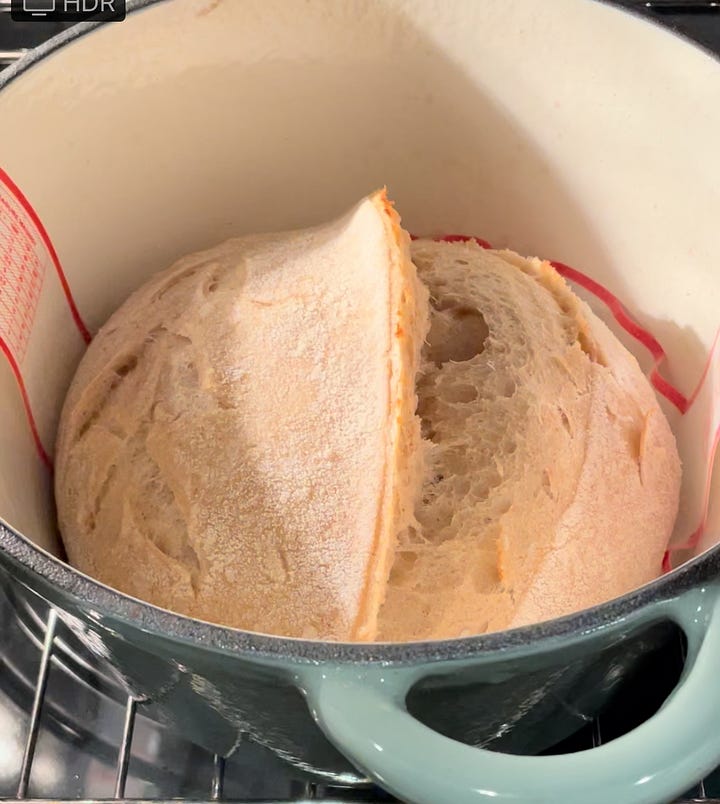
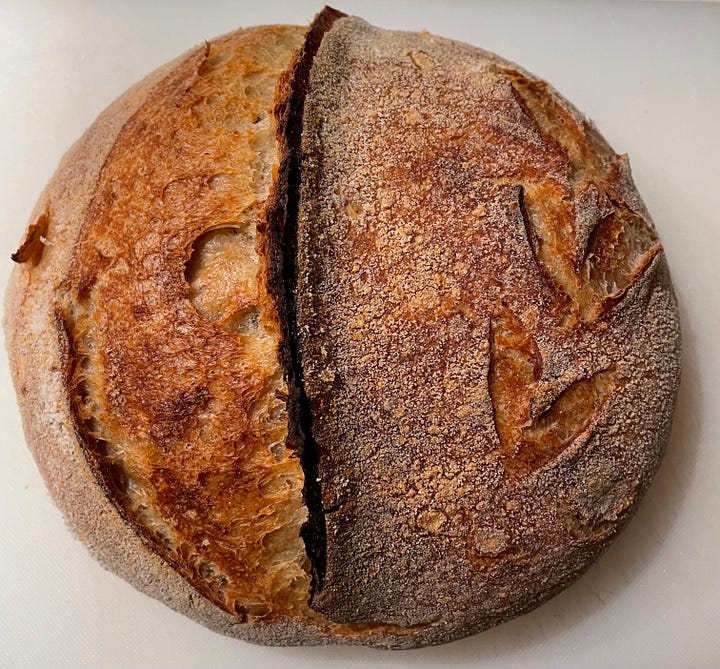
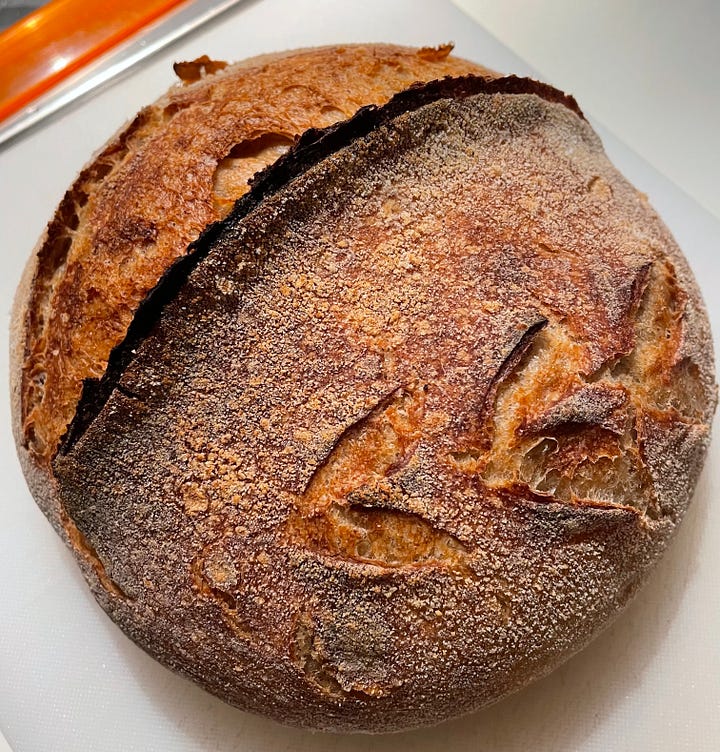
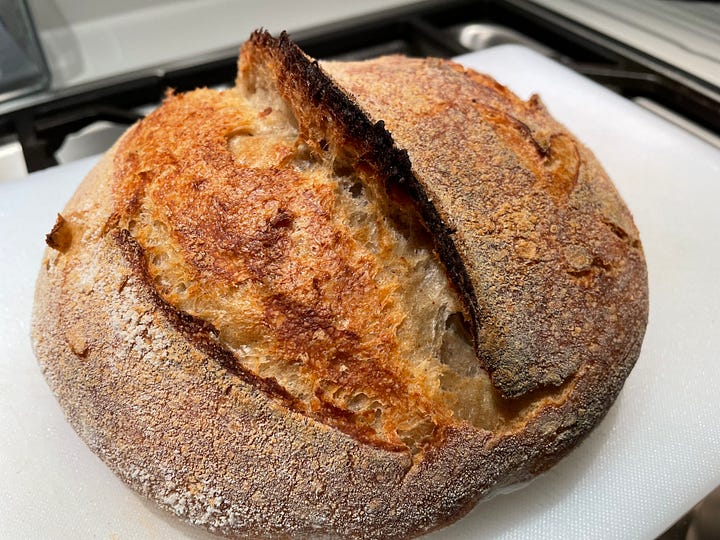
How to tell when your loaf is cooked?
There are 3 ways to work out if your loaf is cooked through:
It should look golden brown and feel light when you pick it up.
Turn the loaf over and tap on the base. If it sounds hollow, it’s baked.
Insert a thermometer into the center. The internal temperature should be between 96-98 degrees Celsius.
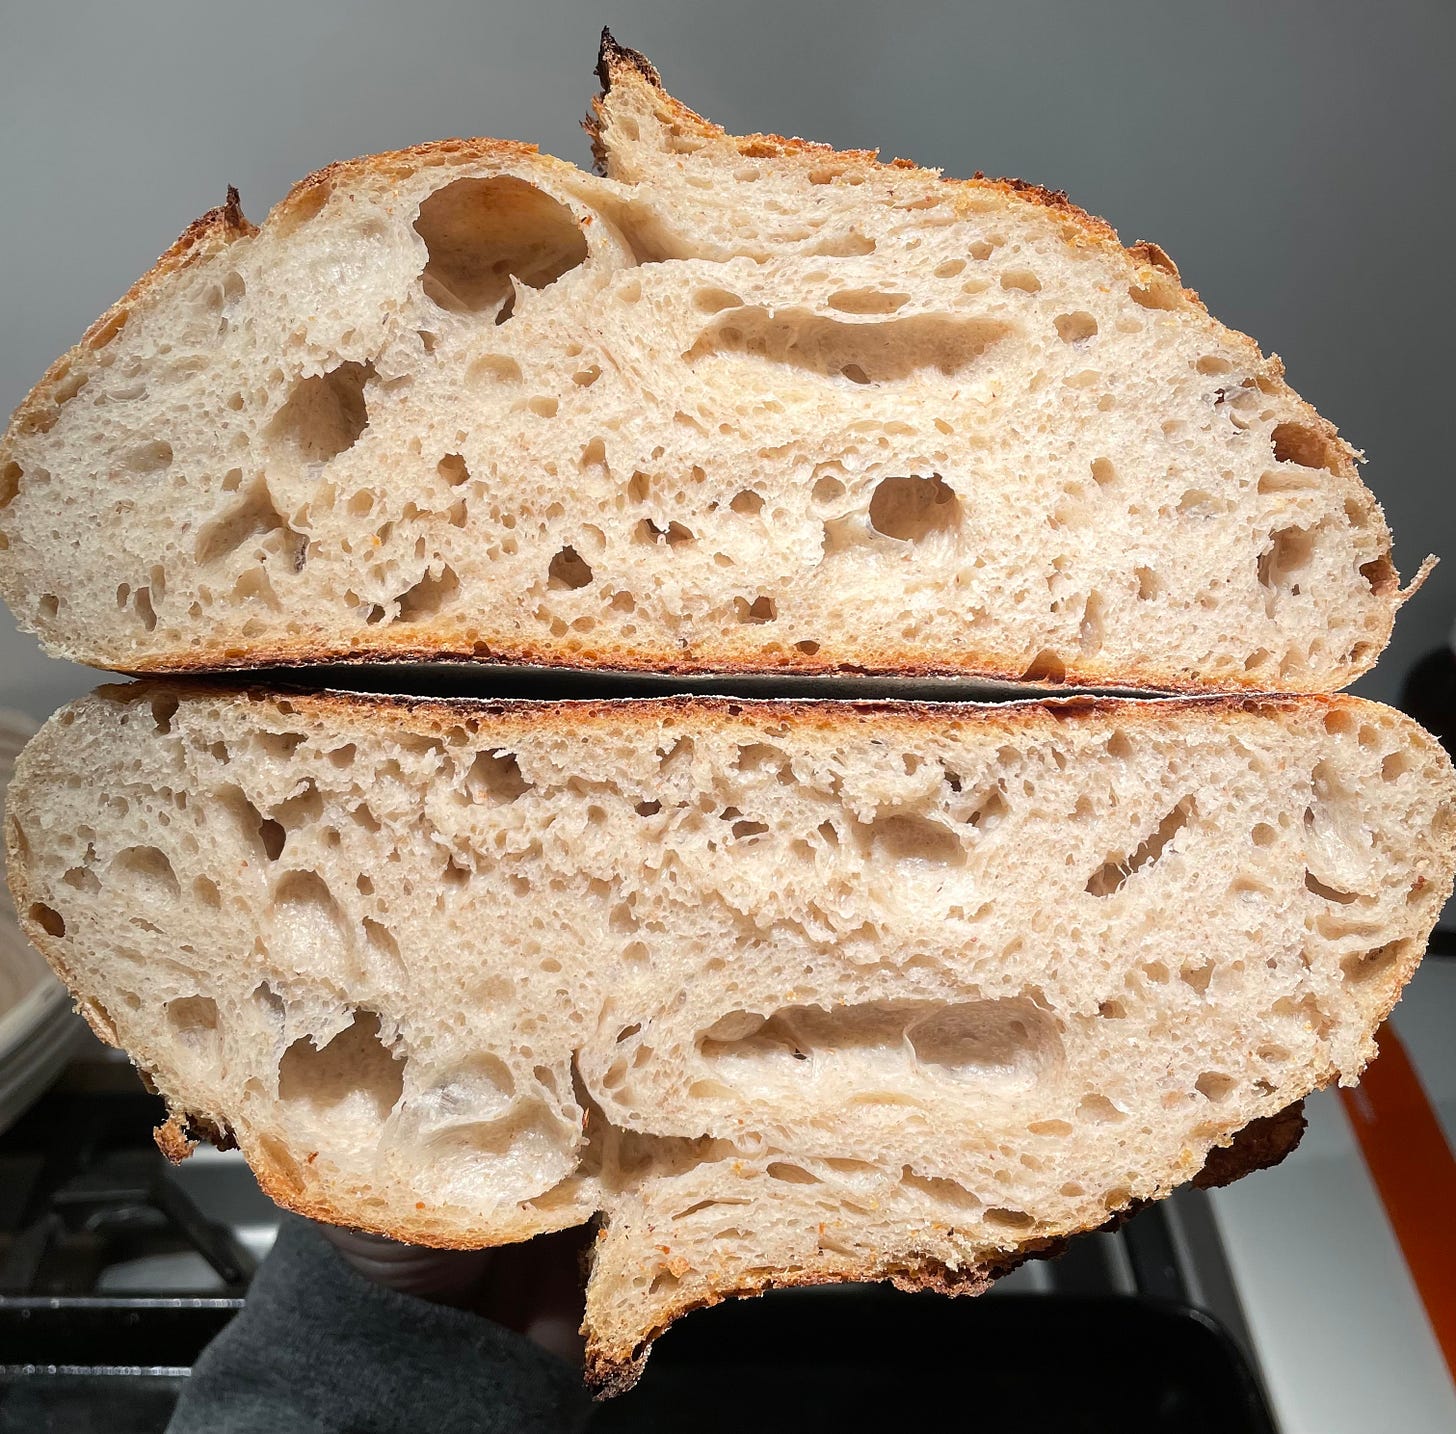
If it’s cooked through, leave to cool for at least 2 hours before cutting into it. The dough is still cooking and the steam inside the dough is what produces the fluffy open crumb. If you cut into it too soon, the dough may lose some of its crumb structure and appear gummy.
Serve with your favourite topping and enjoy!
If my work has helped you on your sourdough baking journey, and you can’t afford a paid subscription (I get it, it’s tough right now), please Buy me a coffee – only $5.00 AUD because I love coffee as much as I love sourdough!! Tx.


